


Vol 2. Tools for the Journey and Rules of the Road
In this post, some thoughts on materials, a prompt to help you set some intentions for your sketchbook, and a YouTube series recommendation.
Here we are in Volume 2, which is actually the third installment of the Paint Wasters’ Club. That’s what I call math for English class at my day job. I hope the first two prompts, the heart spiral and mood boxes, were helpful to you. I return to the heart spiral anytime I’m feeling stressed and need to soothe and center myself, and mood boxes are a favorite doodle strategy for me.
Now, I know what you’re thinking: “But Diane, those prompts were actually just doodles.” And you’re right. Guess what? Artists doodle! I dare you to find an artist who doesn’t doodle. Doodling has lots of benefits and it’s a fairly socially acceptable way to get through things like meetings and training sessions at work (depending on what you’re doodling, lol). Doodling can also be a way of warming up at the start of a drawing or painting session to help you get loose. My hope is that the prompts are a starting point for you. They are not necessarily aimed toward creating “finished” work. That said, you can expect our prompts to get a bit more “fine art” focused as time goes by. Patience, grasshopper.
Today, I thought we should talk about tools and materials for a happy sketchbook habit. Walk into any art, craft, or hobby store and you will quickly be overwhelmed with options, so let’s talk about strategies for sorting your kit. Whether you are just getting started and need to get supplies or you already have a variety of materials, my three simple guidelines will help you get organized so you can focus on building an art habit.
Remove barriers to entry
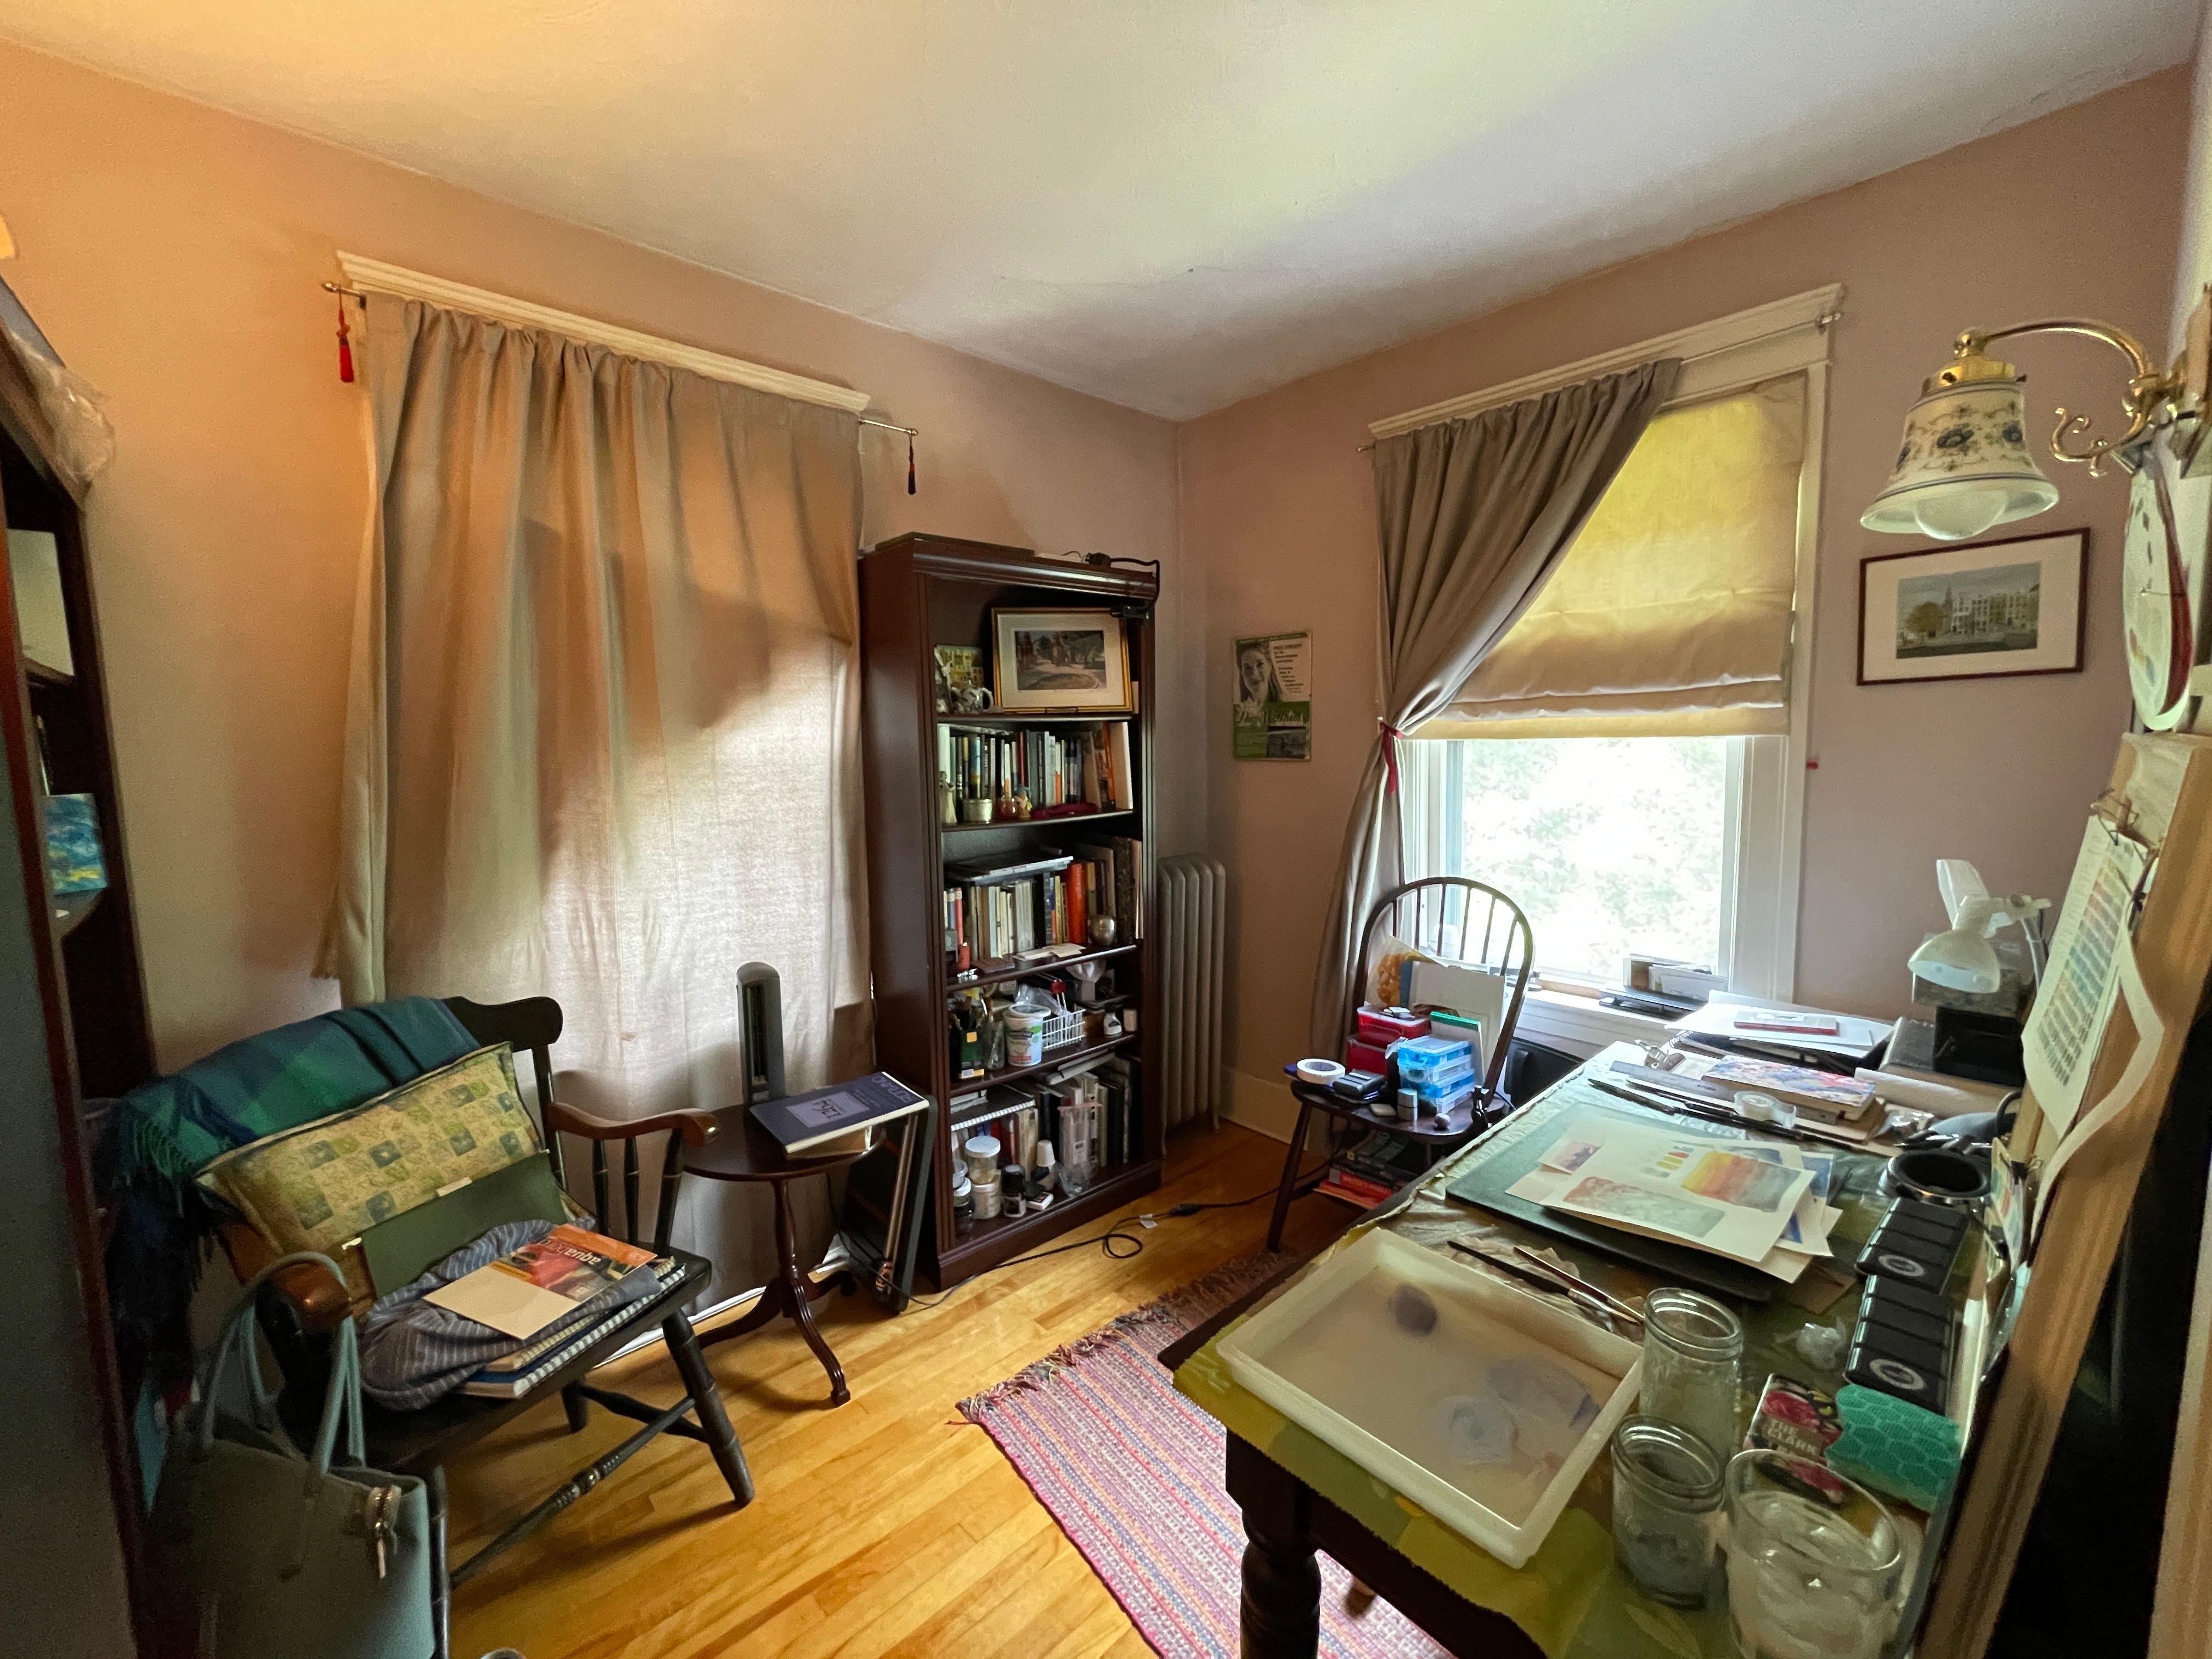
For me, the single biggest consideration for having a daily art practice was the need to remove barriers to entry. When I was painting with acrylics, my barriers were mostly set up and clean up. My home office/studio is very small, and I was using it to teach from home during COVID lockdown at the same time I was resuming a painting practice.
Before I could paint with acrylics, I had to clear my desk, cover it with a drop cloth, put up my easel (I don’t have room to leave it permanently up), unearth my paint box from its storage spot, change into painting clothes or find a smock, and prepare a surface with gesso. After painting, I had to clean my brushes thoroughly, clear off my palette, and reconfigure my space to a teacher’s desk. And any day when I felt even the littlest bit lazy, that set up and clean up meant I was more likely to watch TV than to paint.
I had never painted with watercolors before, but in the summer of 2021, while I was on vacation, I bought a cheap set that came with two waterbrushes. Waterbrushes have a water reservoir in the handle. Water drips into the bristles so you don’t need a separate cup. The kit was totally self-contained!
I sat on the back deck of our rental house dabbling with it while looking out changing tides of Casco Bay. My first attraction was the simplicity of it. My kit took up minimal space, set up was as simple as opening my palette and sketchbook, it wasn’t messy so I didn’t need to worry about my clothes or the table I was working on, and clean up took seconds—swish off my brush, swipe off my palette and I was done!
This was a medium I could use anywhere, anytime, with no barrier to entry.
The more I played with watercolor, the more I liked it. I loved how the paint moved across the page and the different effects I could achieve with it. I haven’t touched my acrylics in over a year now. I am wholly devoted to watercolor.
People often say to me, “Oh, but watercolor is so unforgiving.” Honestly, it has never felt that way to me. Yes, watercolor is a tricky medium. You have to plan and work from light to dark. Once the pigment is on the page, you have to live with it. Sometimes watercolor is unpredictable. That’s all true but as I use watercolor on paper as opposed to expensive surfaces like canvas or boards, I can just grab a new sheet of paper and go again if an attempt goes wrong. Sure, watercolor paper is more expensive than regular paper but it is still relatively affordable compared to other painting surfaces. And if I waste some paint and paper, that’s fine! I’m a paint waster. Paint wasting is an activity I engage in daily.
So, my first piece of advice is simple: Choose materials you will find easy to use and store. They don’t have to be watercolors if that’s not your jam (and I’ll be keeping my prompts as flexible as I can to accommodate all sorts of media). Think about your personal barriers to entry and if any of them are material, look for ways to remove the obstacle.
Get the best materials that you can afford.
The words “that you can afford” are key here. I am not advising anyone to run out and break the bank, and you definitely do not need to use professional materials to have a happy art practice. That said, if you always buy the cheapest supplies you might find yourself frustrated a lot.
As I mentioned, my first watercolors were a cheap set of pans with waterbrushes. I think the whole thing cost about $35 and included something like 16 colors. It was fun and showed me that I wanted to paint with watercolors, but as I got serious about learning techniques and skills, I quickly learned that there were real limits to my cheap set.
First, the colors didn’t mix well. I was doing online classes and the teachers were always saying, “Don’t use color straight from the pan. Mix your own colors.” But when I tried I got mud. The reason was that cheap paints are not made of pure pigments. They are hues made by mixing a variety of less expensive pigments to create a color. So when you mix one color with another, instead of mixing two pigments you are mixing a whole bunch and the results can be unpredictable.
Second, I couldn’t get a wide range of values (artist-talk for how light or dark you make a color). This is because cheap paints have more binders and fillers and less pigment than expensive ones. To get intense values, I needed more pigment.
Third, waterbrushes don’t perform like regular brushes.
About two months after buying my cheap set, I bought a set of Daniel Smith professional watercolor half-pans and a few Princeton Neptune brushes. I still remember the first little painting I made with my new gear. I was doing a hundred-day project and the prompt was lemons on a branch. The difference between that painting and all the ones I had done with the cheap set was so glaring it was as if they had been made by different artists.
Similarly, at first, I bought cheap watercolor paper. Michael’s seemed to always have their house brand buy-one-get-one, so I bought a ton. But I couldn’t get the effects my teachers were describing. I couldn’t do successive washes without the paper getting pilly. I couldn’t scrub and lift. I got bleeds and blooms no matter what I did. Still, I couldn’t bring myself to buy the expensive, 100% cotton paper.
I had been painting with watercolors for seven or eight months when someone gifted me an Arches travel journal. It took me at least another two months before I got brave enough to paint in it. From my first brush strokes, I saw why Arches is the gold standard. At this point, I only use 100% cotton paper. It doesn’t have to be Arches. I also like Hahnemuhle and Etchr Studios paper, and Vivivacolors makes a great watercolor sketchbook with rough cotton paper.
Basically, having highly pigmented paint, high-quality paper, and appropriate brushes meant I experienced more success, and as my results improved I was even more motivated to paint.
Now, to be clear, I know people who love waterbrushes (they are convenient if you just want to splash some color over and ink drawing) and I know people who do great work on watercolor paper that isn’t 100% cotton. Some people adore the Moleskine watercolor sketchbook, but I bought one and hated it. It’s all down to personal preference. The area where I feel like I can be a bit cheap is actually brushes. I bought one expensive all-sable brush and found it didn’t suit me at all. Synthetic brushes or blends of natural hair and synthetic fibers give me results I’m happy with.
My point here is simple: Don’t nickel and dime yourself when investing in supplies.
You don’t need the most expensive gear, but you need gear you like enough that you want to use it.
If you buy cheap stuff and are always frustrated, that will become a barrier to entry. Remember of paint waster’s philosophy: Think like a golfer. Golfers have no problem spending money on their hobby. If they can do it, so can you.
Also, Facebook Marketplace is a great source of people selling second-hand art supplies, so if you are a bargain-hunter, give it a try!
Keep it simple
Especially when you’re just getting started, decide on your basics and stick to that same set of materials until you know them really well. Every artist you meet will recommend more and more tools to you, but if you want a robust daily art habit, you are probably best to have a consistent kit, again, as a way to remove barriers to entry.
Gradually, over time, you’ll acquire plenty of tools, but it is worth having some restraint and not piling things up too fast, too soon. I speak from personal experience. I have an unopened Gelli plate in a drawer that I bought 18 months ago. Don’t be like me. Be focused.
So, what’s actually in my kit?
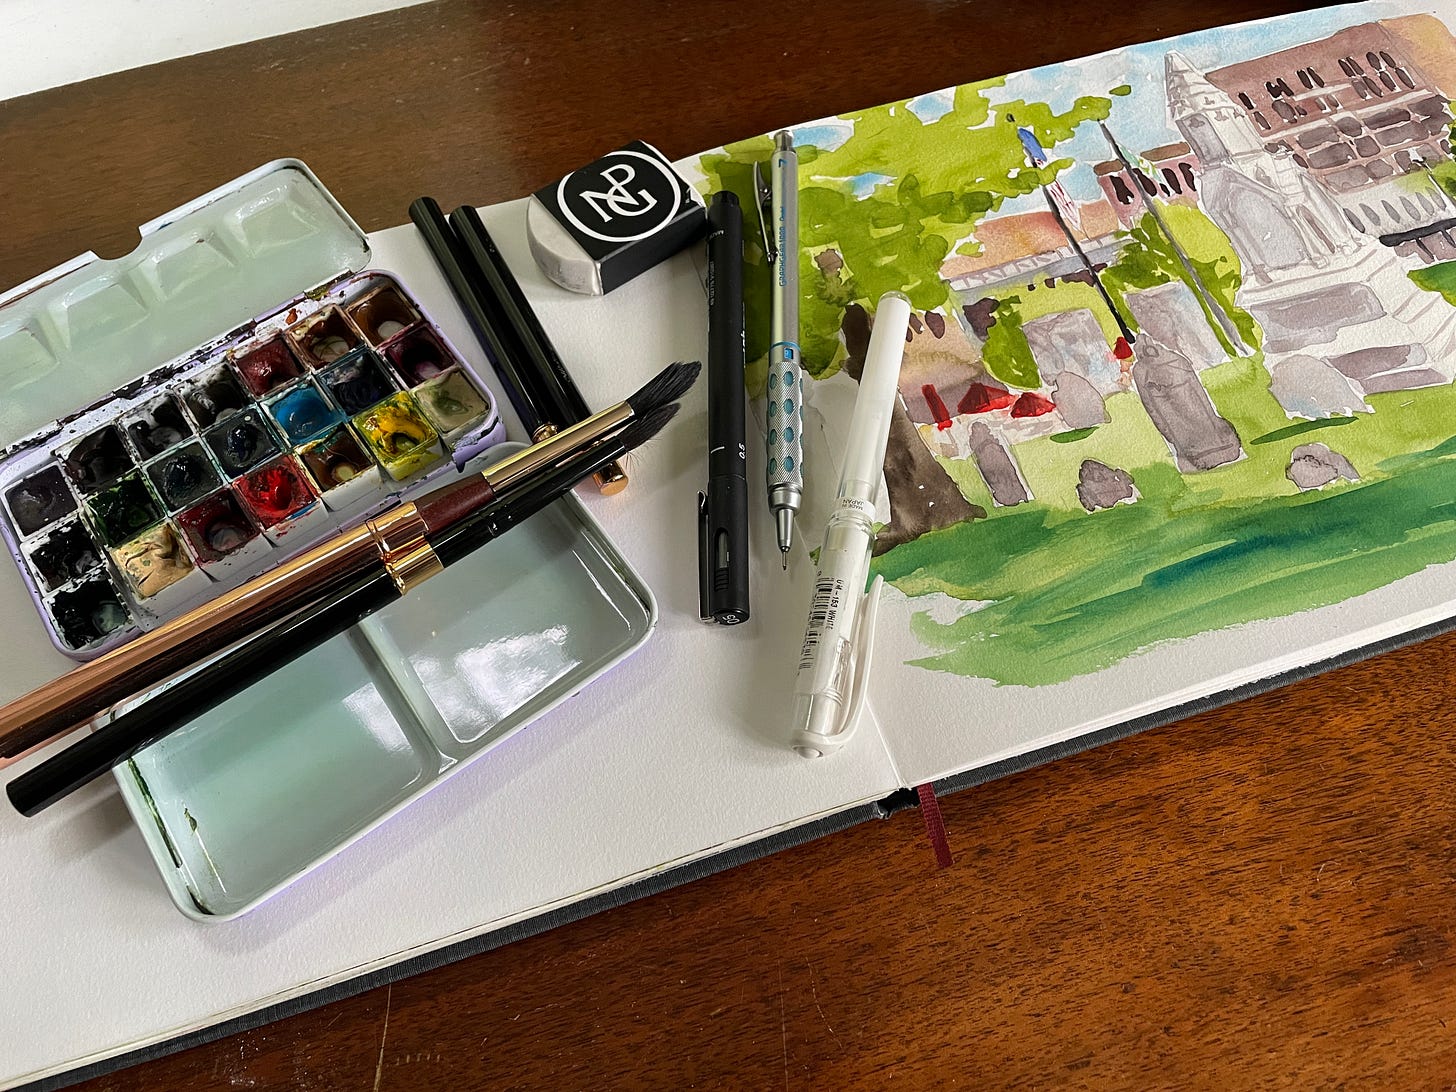
I have accumulated quite a lot of art supplies in the past few years, but my go-to gear all fits in a small backpack that I grab and take anywhere. You should use whatever is most comfortable for you, but if you’re curious about what’s in my sketch kit at the moment, here it is:
A Hahnemuhle 100% cotton watercolor sketchbook
A customized box of half-pans of watercolor (The Daniel Smith Ultimate Color Mixing Set with five “cheater” colors: sepia, sap green, neutral tint, payne’s gray, and rose of ultramarine)
Four round travel watercolor brushes range in size from 10 to 2
A mechanical pencil (so I don’t have to carry a pencil sharpener)
A white eraser
A waterproof fine liner and two waterproof pigment brush pens
A white gel pen

Today’s Sketchbook Prompt
Often, when trying to start a sketchbook habit, people generate a list of unwritten rules that become barriers to entry. For instance:
Facing pages have to look nice together and work together thematically.
Every page has to be a finished painting.
Every page has to be Instagram-worthy.
There is a place for rules in art. Often rules can actually help creativity. For instance, using a limited color palette can force you to make creative choices, or deciding to only paint on a certain size of paper can help you get over the hurdle of the blank page by eliminating one of the many choices involved in creating art. But rules that prevent you from creating are no good.
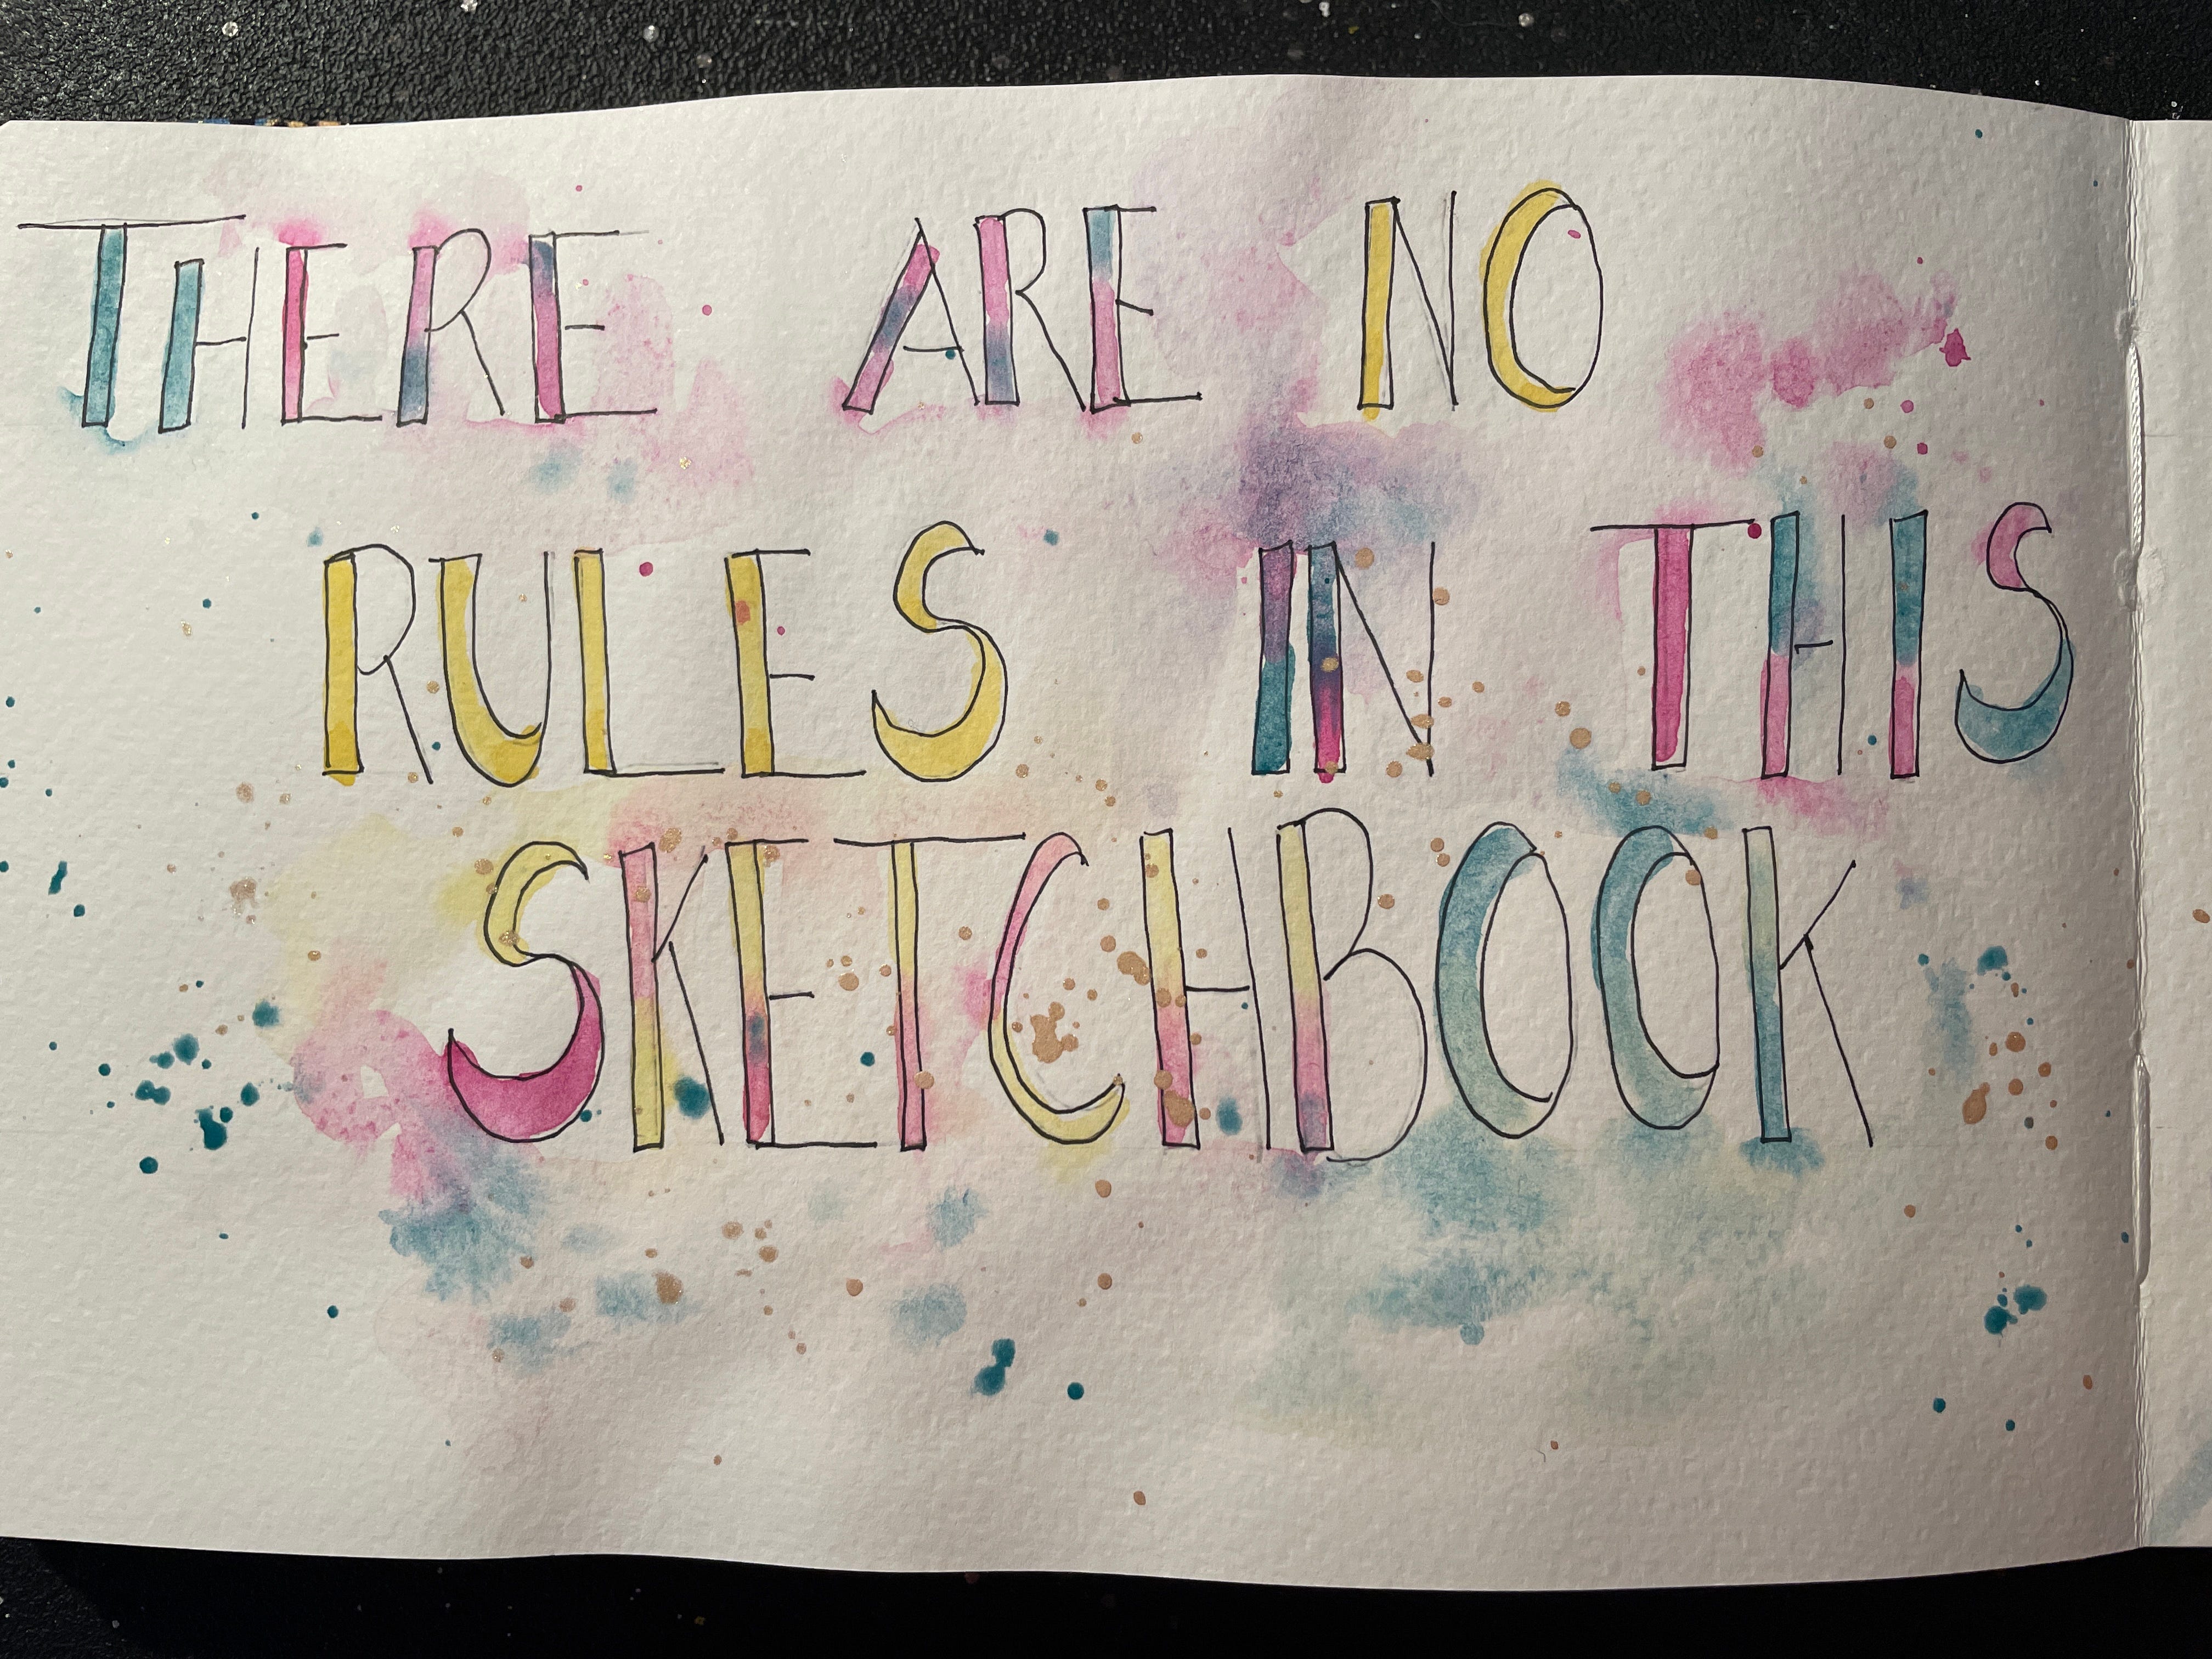
So, as we begin this journey together, I want you to set aside any written or unwritten rules for your sketchbook. Instead, I want you to write yourself a simple, positive, encouraging motto for filling your sketchbook.
Here are some sample mottos to get you started:
Keep going
Be brave
Learning is messy! Embrace the mess!
Keep experimenting
Be present
Deep breaths
Be bold
“Live in the layers” (from the poem “The Layers” by Stanley Kunitz)
“Do not ask if it is good” (from “Letters to a Young Poet” by Rainer Maria Rilke)
For my motto page, I have written, “I wonder what will happen if…” I started using this as my art motto after taking some Skillshare classes with Denise Love. Denise is a cheerful and enthusiastic teacher who is constantly exploring techniques and materials. A constant refrain in her classes is, “I would what would happen if…” After taking her classes, whenever I found myself hesitant or nervous while painting, I would take a breath to center myself, remind myself that it’s just paint and paper, and give myself the freedom to keep going and find out what will happen!
You can use a motto from my list if it speaks to you, or you can generate your own. Just be sure your motto doesn’t include any sneaky limitations. For instance “Be original” would be a very dangerous motto. We’ll talk more about that in the coming weeks.
Once you’ve written your motto, decorate your motto page in whatever manner you would like. If you don’t like your handwriting and want a nice presentation of your words, you can always type your motto, print it out, and collage it into your sketchbook!
I did a two page spread for my motto:

Now you are ready for your sketchbook journey! See where your motto takes you between now and our next installment.
YouTube Recommendation
And lastly this week’s resource. If you are looking for tutorials to get started in Urban Sketching, check out Toby Sketch Loose. Toby is an encouraging teacher who shows you how to loosen up, let go, and create. He updates new videos frequently so you can find lots of content on his channel for those moments when you’re too tired to paint but you still have art on the brain.
Tell Me About Yourself
I’d for you to drop me a note or respond in the comments to tell me who you are and what your art journey is like. What are your barriers to entry and how can you lower them? What materials do you love and why? And, perhaps most importantly, what motto will guide your sketchbook practice?
I thoroughly enjoyed this post! Currently: I got rid of my dining room table in my small eating space (10 x 7 feet) and set up two easels and a banquet table. I'm learning the complexities of working in acrylics while exhibiting locally. But watercolors are definitely in my future! I think they would be fantastic to travel with. Are you on Instagram? (I found you through Stephanie's blog here.)
Love the whole philosophy here!